Google keeps changing their procedure, so please note the article was last updated on 16 Oct 2022.
Before you start, you will need the following:
- Administrator access to Google Workspace account. If you don’t have an account, please refer to the article: Steps to Create a Google Workspace Account for your Business.
- You will need access to change domain DNS settings
This article presumes you know how to add Domain DNS MX entries. Follow the below links for configuring Gmail for Google Workspace.
Use the below-listed methods to activate Gmail.
Setting Up Gmail through Setup Tool
Google automatically adds DNS MX records through the domain owner's consent with popular domain registrars. To activate that, follow the below steps:
- Open the Google Workspace Setup Tool in private/incognito mode in a web browser.
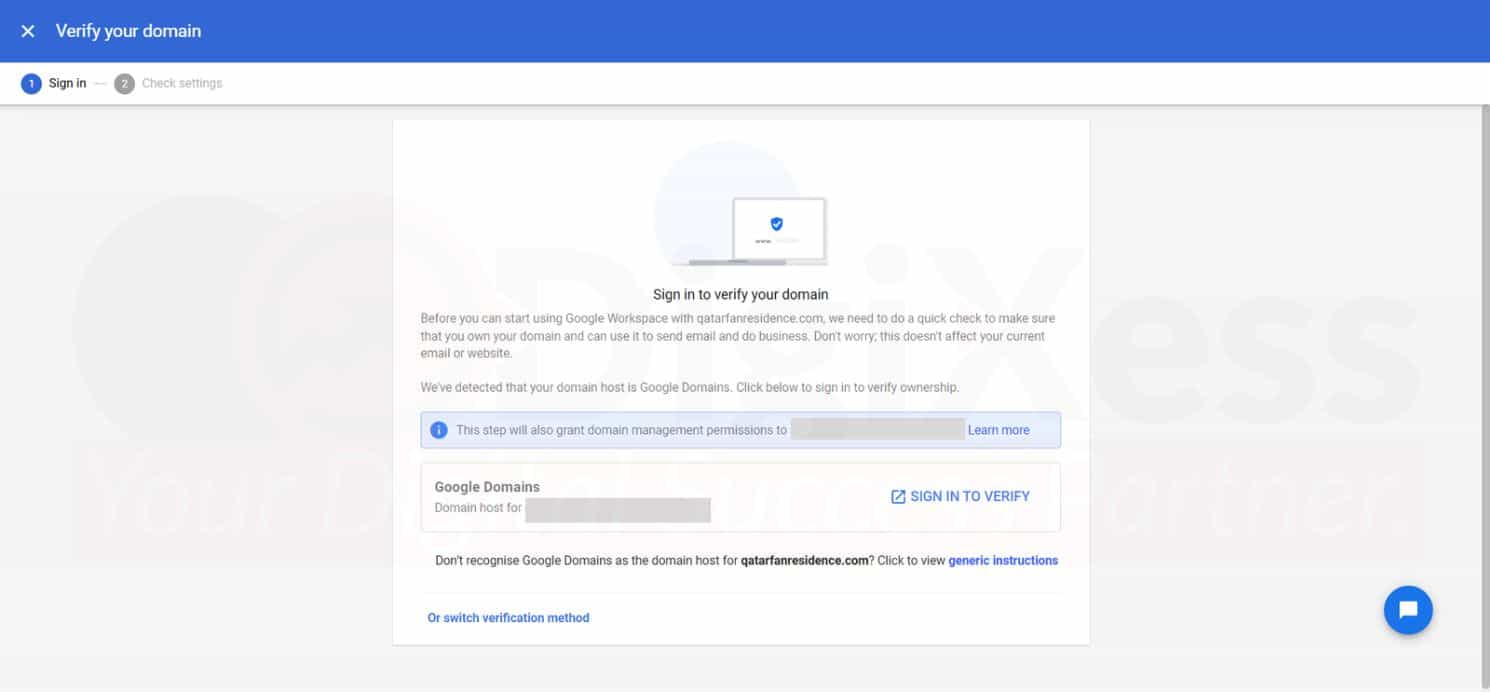
- Click Protect Domain if you have not verified the domain and follow the instructions.

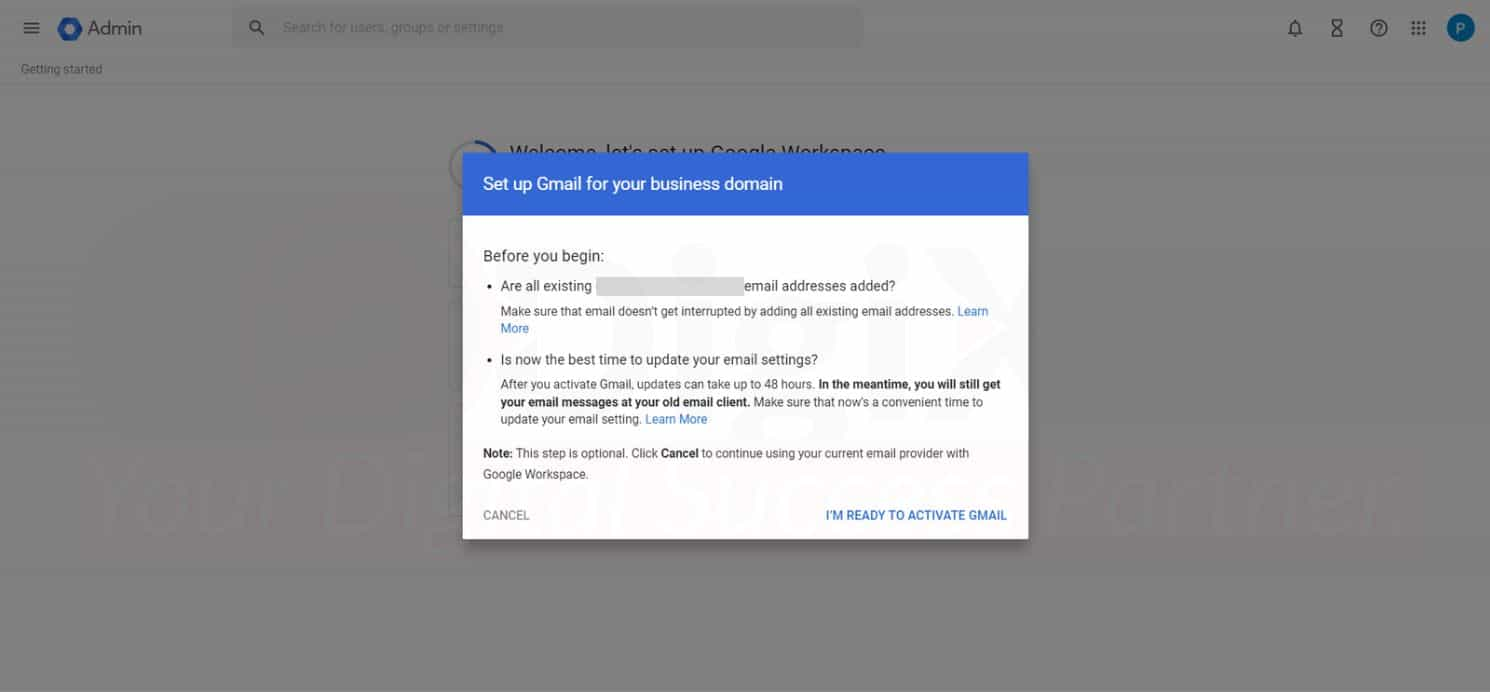
- Click on Activate Gmail and follow the instructions.

Setting Up Gmail Manually
To add MX records manually, follow the steps:
- Identify the domain registrant and know the steps to add DNS MX Google has listed instructions for the most popular domain registrars.
- Open the registrant website on a new tab, sign in, and open DNS Settings.
- Delete the existing DNS MX
- Add the new DNS MXrecords entries mentioned in the table:
Host or Name
TTL
Type
Record /Value /Mail Server
Priority
@
1 Hour /3600
MX
ASPMX.L.GOOGLE.COM.
1
@
1 Hour /3600
MX
ALT1.ASPMX.L.GOOGLE.COM.
5
@
1 Hour /3600
MX
ALT2.ASPMX.L.GOOGLE.COM
5
@
1 Hour /3600
MX
ALT3.ASPMX.L.GOOGLE.COM
10
@
1 Hour /3600
MX
ALT4.ASPMX.L.GOOGLE.COM
10
- After you save the MX records, you need to verify them in your Admin console.
- Login to Google Admin console.
- Go to Menu
 Account > Domains > Manage domains.
 - Click on Set up Google MX records for your domain. And in the pop-up window, click on I have completed these steps.
To verify or troubleshoot that MX records are added correctly, follow the below steps
- Go to Google Admin Toolbox.
- Enter the domain and click on Run Checks.
You see the below success entries in the results.

Depending on your domain host registrar, emails should start working in 30 minutes to a maximum of 72 hours.
